
In this tutorial, you’ll learn how to cut out text that flows as though it’s written by hand – and you’ll make a unique greetings card in the process. It’s got a very sweet message so you’ll be able to make it time and again. Let’s get started with CharmPop.
You will need:
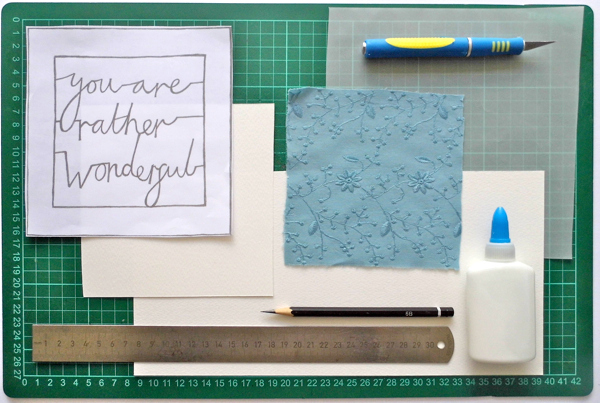
- 2 pieces of watercolour paper, one 31cm by 15.5cm, another 14.5cm square
- A soft lead pencil (like 2B)
- Scalpel
- A piece of fabric 14cm square
- Cutting mat
- PVA glue
Step 1
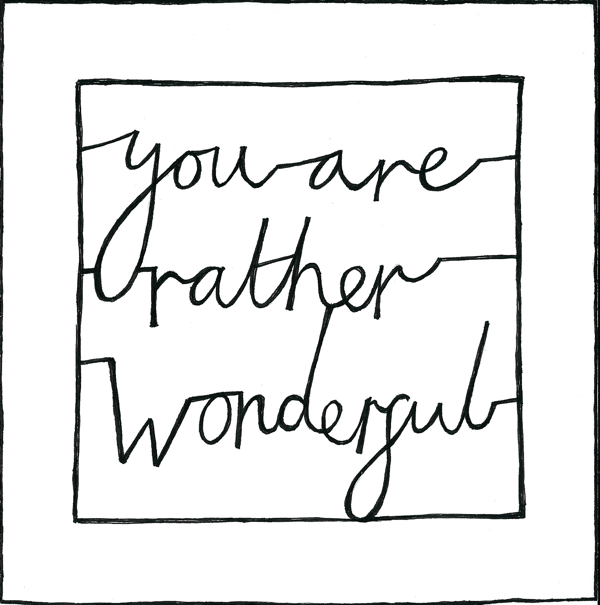
Print out the template from here at 80 per cent.
Step 2
Trace the design onto your tracing paper.
Step 3
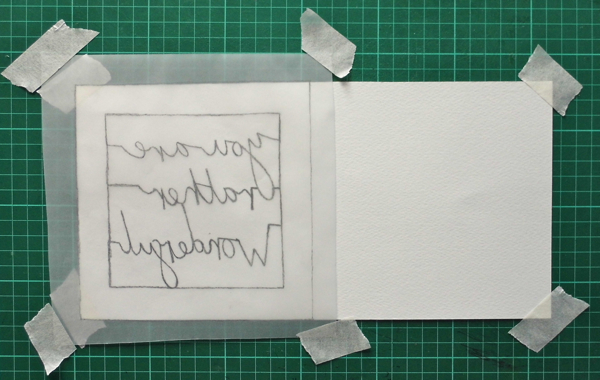
Position the tracing paper face-down on the larger piece of watercolour paper. It needs to be positioned on the inside front of your card. The larger square should line up with the outside of your paper. Use a little masking tape to fix it in place.
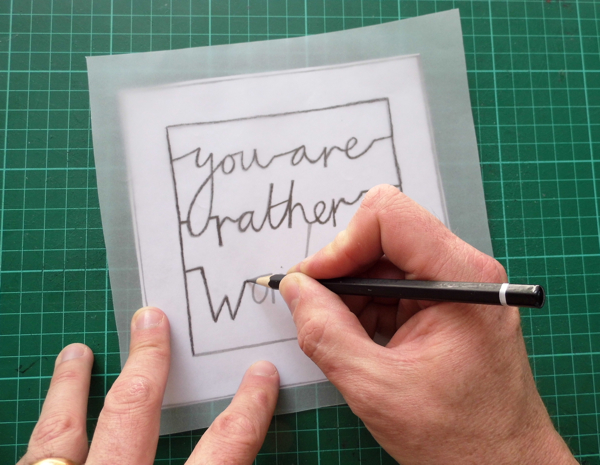
Step 4
Scribble firmly over the tracing paper. You may find it easier to use a harder-lead pencil for this (like HB). You don’t need to scribble over the bigger square.
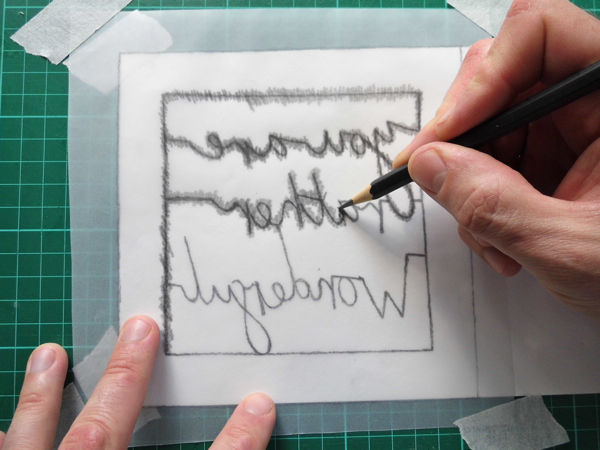
Step 5
Remove tracing paper to reveal a reverse image of the design on the inside of your card. Thicken up the pencil lines of the design if required. The lines inside the smaller square will be the width of the remaining paper once the cut is complete, so if you would like a bolder type, just make the lines a little bolder.

It is best to do it this way so the front of the card remains pristine, and when you cut from the back any minor flaws in your cutting are disguised.
2. Cut Out the Design
We want the letters on this card to be fine and delicate, as though written with a pencil. The aim is for the lines to flow naturally. This requires thoughtfulness when you’re cutting around the letters. The cut lines are the edges of the pencil lines – inside the smaller square the pencil lines will be the only paper left once the cut is completed.
Step 1
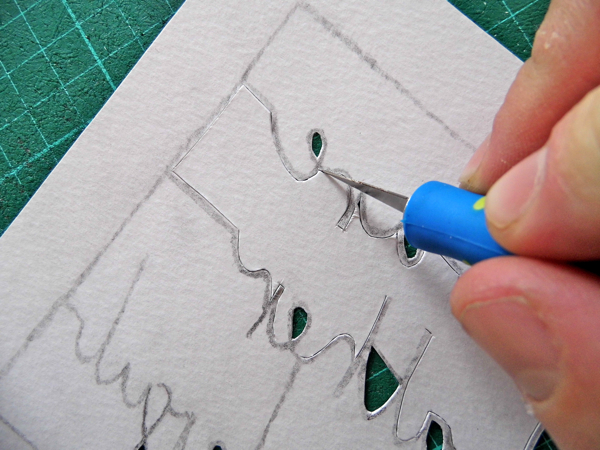
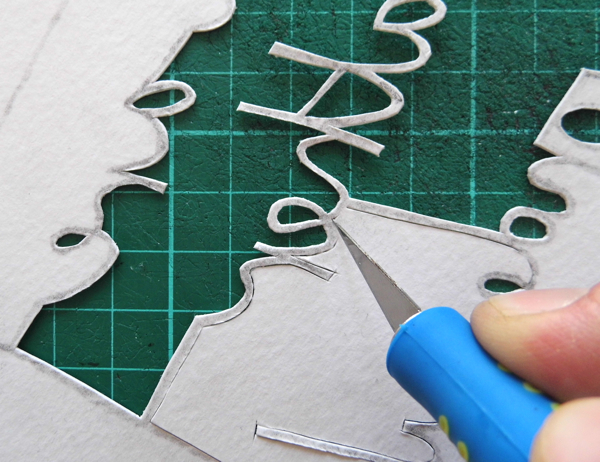
As with any papercut, start with the smallest pieces and cut them out first. This will be the insides of ‘o’, ‘a’, ‘e’, and ‘d’, the inside of the loop of the ‘y’ and underneath the cross bar of the ‘t’.
When cutting a corner, cut away from the point in both directions – this will result in a neater cut.
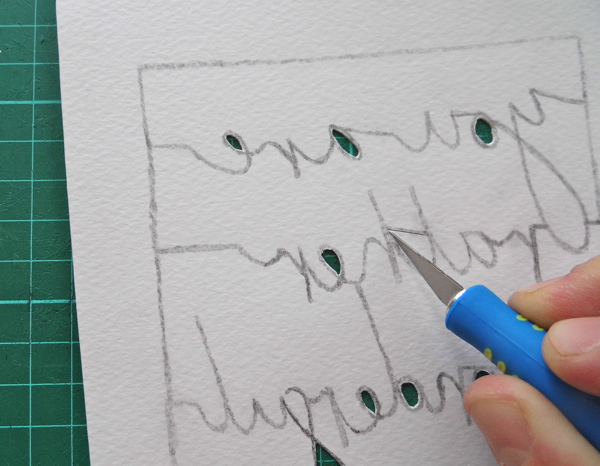
When cutting a tight curve, it is often easier to use the point of your scalpel to make lots of tiny cuts. One smooth cut is very difficult to achieve on a tight curve and attempting it can result in an accidental corner.
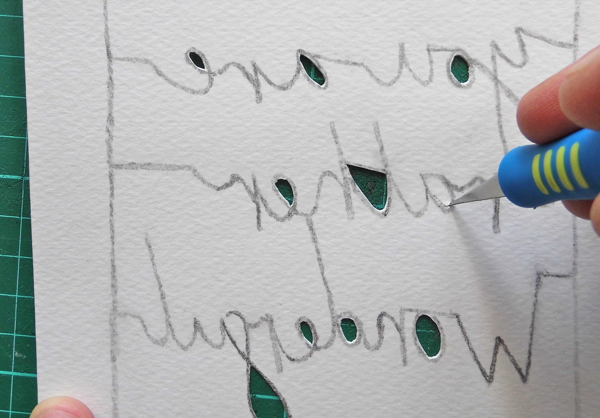
Step 2
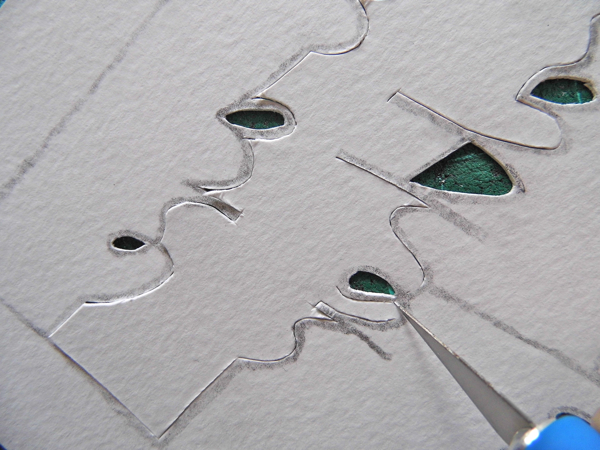
Cut the space to the right of the loop on the ‘y’, remembering you are to cut just on the edge of the pencil mark. The down stroke of the ‘y’ needs to line up with the inside of the ‘y’s loop so that the line flows and it doesn’t look disjointed.
Step 3
Cut the space to the left of the loop of the ‘y’. Where the loop of the ‘y’ crosses itself to join with the ‘o’, ensure your cut is nicely lined up with the inside of the ‘y’ loop.

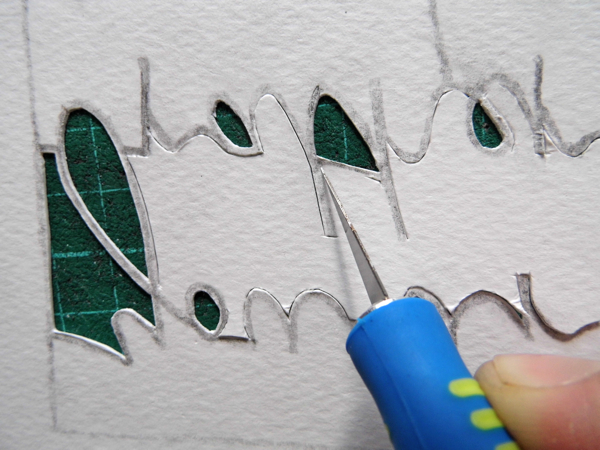
The second tricky letter to negotiate in this section is the ‘e’ of ‘rather’. The cuts should line up perfectly with the inside of the loop.
In contrast, the part of the ‘e’ in ‘are’ shouldn’t line up with the inside of the loop as it’s outside of the line.
The final tricky cuts in this section are lining up the upstrokes of the ‘t’ and the ‘h’ of ‘rather’ with the loop underneath the crossbar of the ‘t’.
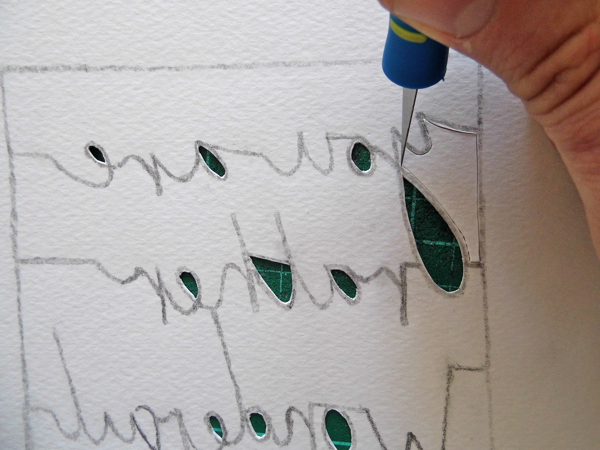
Step 4
Now move to the space between ‘rather’ and ‘wonderful’, to the right of the ‘d’. The only tricky part of this section should be lining up the loop of the ‘y’.
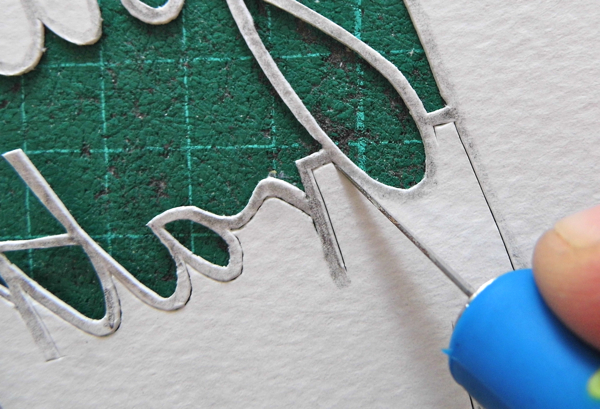
Step 5
To the left of the ‘d’ there are two more ‘e’s to negotiate. The first is in ‘rather’.
Step 6
Continue to finish all the other letters in the same way.
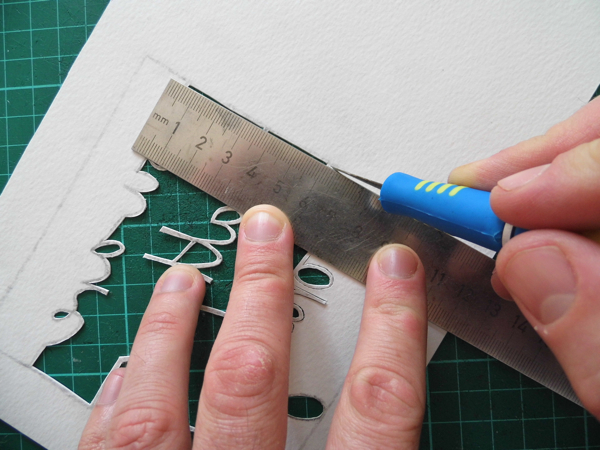
* Remember to use your metal ruler when cutting the straight edges of the square.
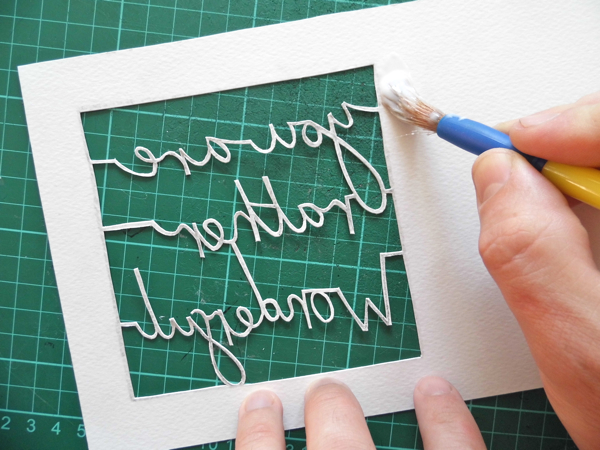
Now you’ve completed the paper cut, you should have something like this in front of you.
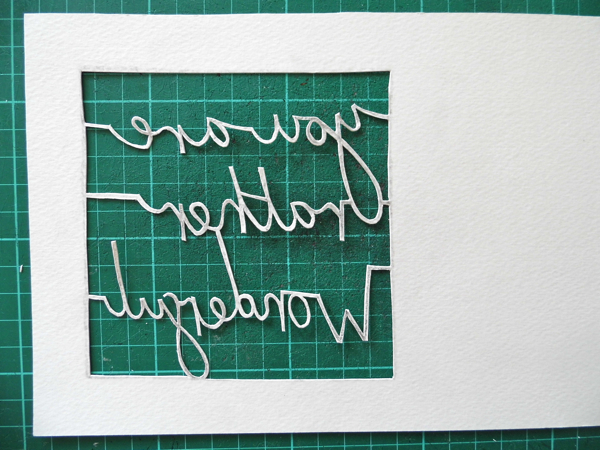
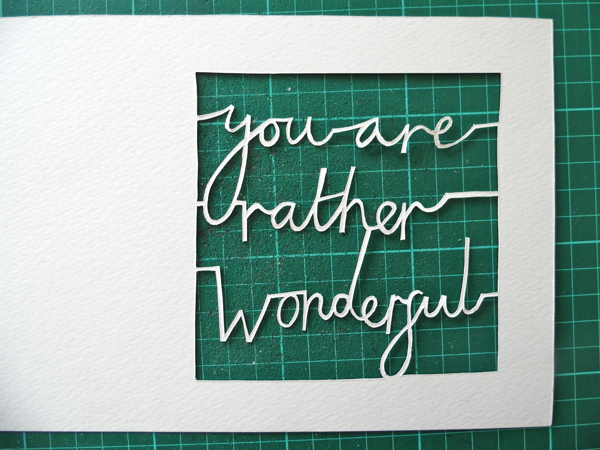
If you turn it over, the writing should make a bit more sense!
3. Complete the Card
Step 1
Glue the fabric carefully in place around the edges of the cut. Don’t glue the letters to the fabric.
Step 2
Cover the back of the fabric by gluing the square of watercolour paper to the inside of your card. Make sure you only apply glue around the edges.

Step 3
Place the card under a heavy book to dry flat. Once dry, fold your card.

Give Your Card to Your Favourite Person
In this tutorial you learnt how paper cut tricky letters in a cursive script. You also learned how to make a beautiful and unique greetings card.
Now that you’ve mastered these letters, have a go at writing your own message in cursive script, and transferring and cutting around the letters. You could even frame the card for a lovely piece of art.