
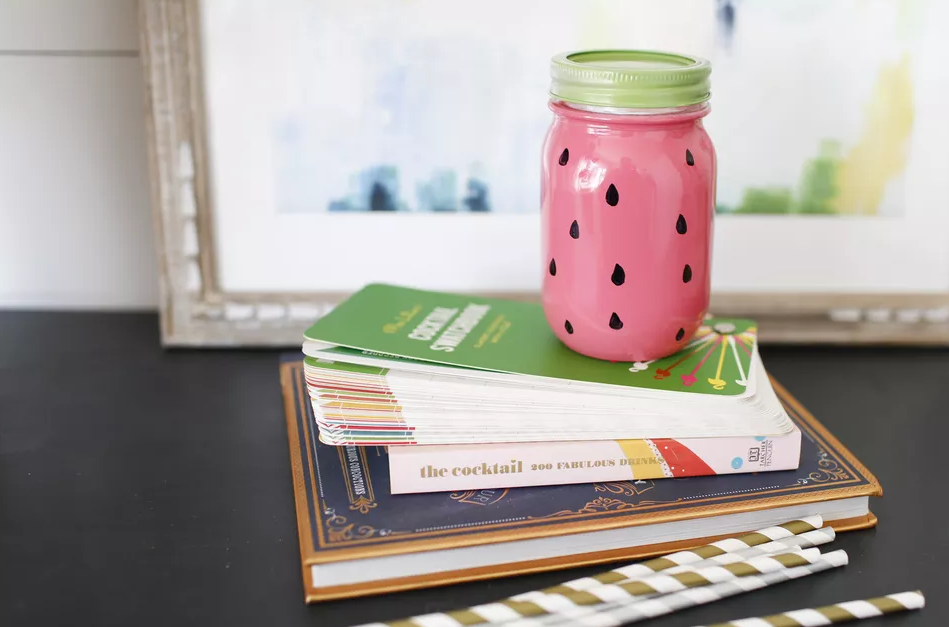
We all know that some of the best parts of summer are hanging outside with friends and family. Make a BBQ or picnic even more exciting with easy-to-serve summer cocktails in this playful DIY Watermelon Jars. Endlessly useful, these jars can be used to hold party favors, corral silverware, or for pre-mixed cocktails or mocktails. After all, watermelon is the unofficial fruit of summer, so why not use it as part of a party theme?
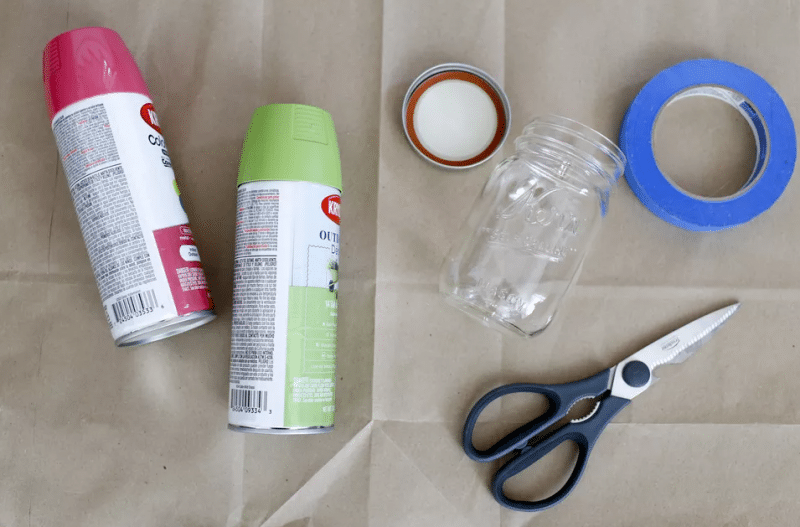
Supplies Needed
- Glass mason jars
- Scissors
- Painter’s tape
- Spray primer (optional)
- Spray paint
- Black paint pen
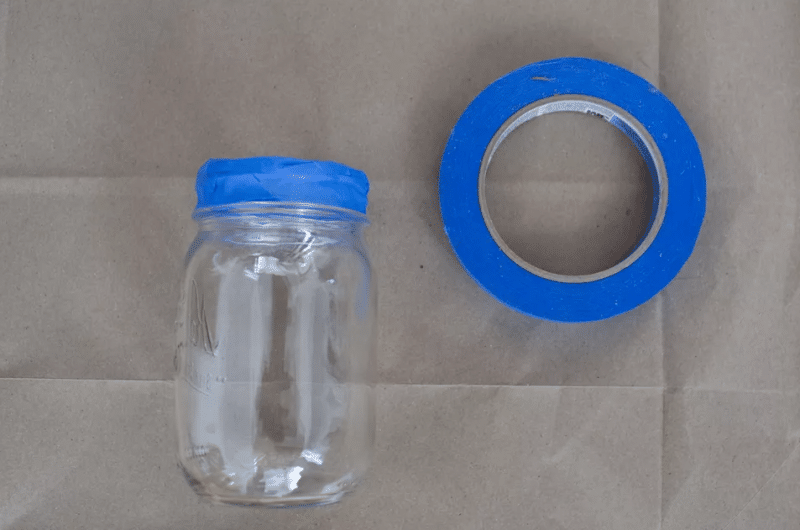
Apply Painter’s Tape
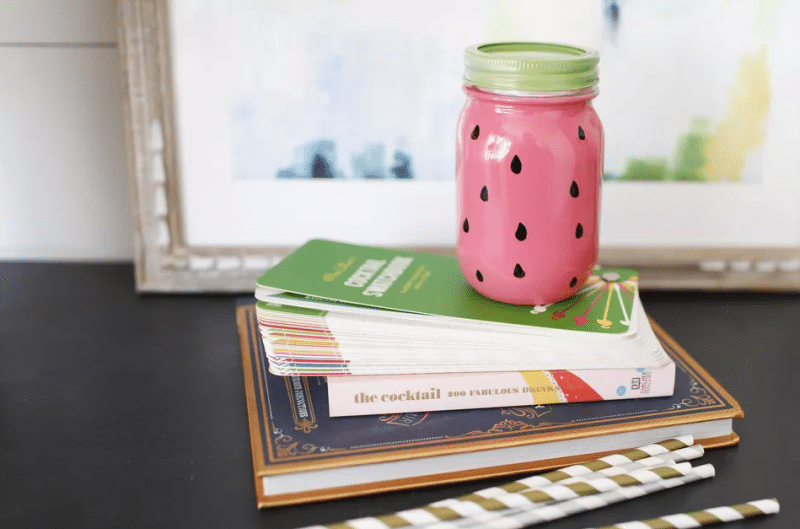
There’s more than one way to create the watermelon design on the mason jar. The two most popular methods are: painting the green on the bottom of the jar or painting the lid green.
But before you even look at your spray cans, you’re going to want to figure out what your plan is. We decided to paint the lid green and do the entire body of the jar pink.
Note: do not spray paint on the lip of the jar, where someone would potentially be drinking from. Tape off to cover from the spray primer and spray paint. Obviously spray paint isn’t food safe, so keeping it away from the part where you’d be drinking from is smart.
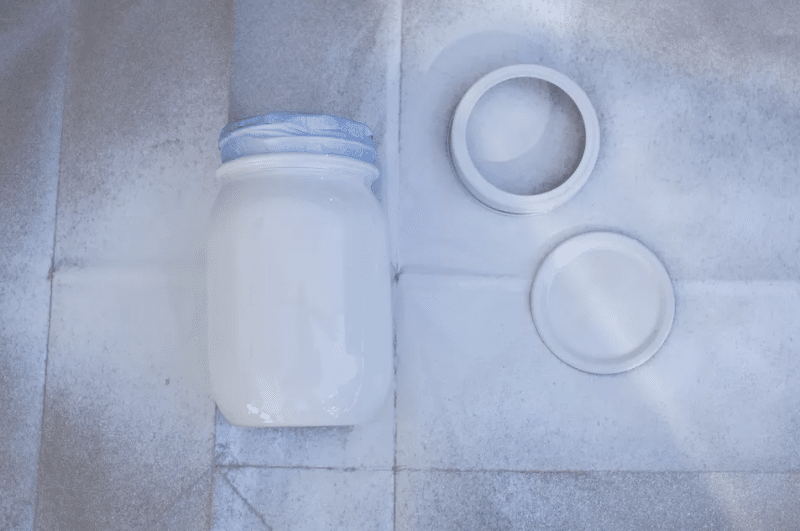
Apply the Spray Primer
Okay–let’s preface this by saying that many people don’t understand why primer is necessary. And yes, it’s an extra step. But even if your spray paint boasts that it’s a paint and primer in one, it never hurts to have a little extra adhesion. Primer works as a grip-y first layer that will bond to the glass. Making your paint adhere better to the glass too. Depending on how you use your mason jars, if you do end up serving premixed cocktails, you’ll be thankful for the extra protection. Exposure to water or condensation will make these glasses susceptible to chipping or peeling without primer. And even with the primer, we don’t recommend soaking the jars in water or running them through the dishwasher.
In a well-ventilated area, carefully prime the jar and lid until they’re covered in an even coat of primer and let them dry completely.
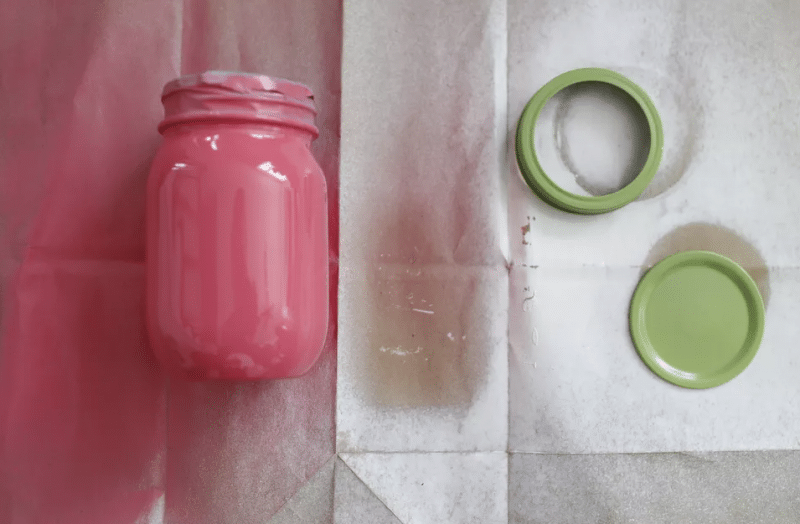
Spray Paint the Lid and Jar
Spray the jar a pretty shade of pink—you can even find a watermelon colored spray paint—again in a well-ventilated space using even strokes, holding the spray can far enough from the jar so the paint won’t drip. Follow the instructions on your spray paint for best results. The lid (painted green) will be a little trickier because of its shape. Work slowly and carefully, and if needed, wait for pieces to dry and then flip and finish painting. If needed, do a second coat on each.
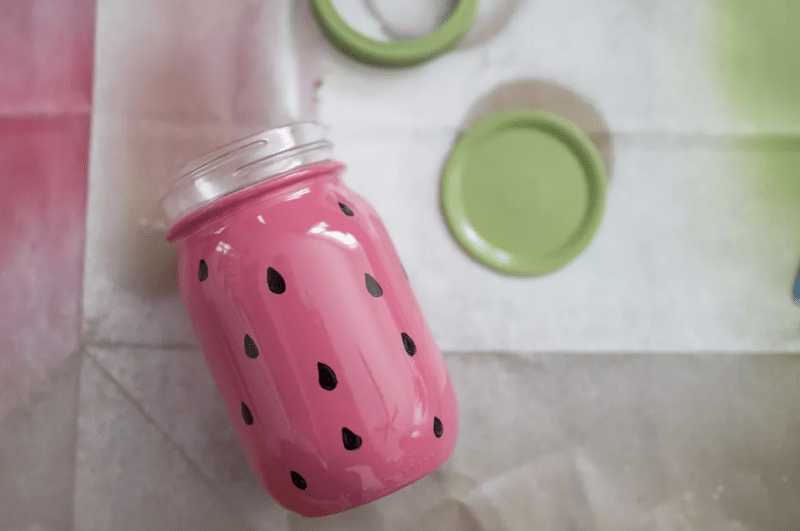
Apply the Seeds
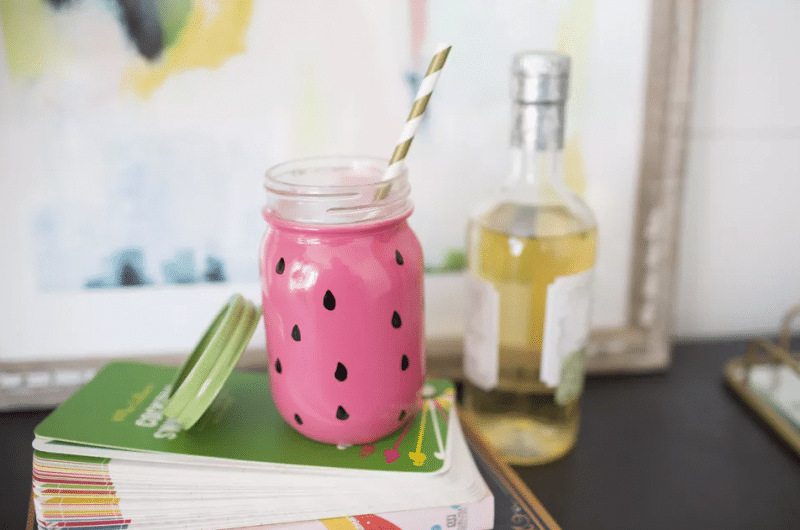
Once the jar is completely dry, using your paint pen, draw on some black watermelon seeds. If you’re worried about messing up at this final stage, you can create a template for yourself using painter’s tape. Stick it on, draw the seed in and move as needed until you’re satisfied with the look of the entire jar. You can also draw them on freehand with your paint pen too. It’s all about your comfort level.
If you’re making a set, just up the number of jars you’re using. You’ll be surprised how much you can get out of these cans of spray paint. If you’re not into watermelons, you can use this same technique but just switch up the colors you’re using to represent your favorite fruit or veggie.
Cheers to a fun summer!
Great quality. Impressive design. Very beautiful and for both adults and children.
Delightfully whimsical cards for any occasion. Perfectly packaged and promptly shipped.
Excellent product! The amount of work that goes into these cards is really something to behold! Many thanks to the team that assembled these cards. Truly a work of excellence!
I was pleased with the quality and beauty of these cards
So realistic and beautiful…. quality of paper and crafting is excellent.
Higher quality than I expected. Great customer service. Fast delivery.
This is interesting. I will try this for sure.
Look more like a red dragon fruit to me. But still very nice!
Enjoyable!
Really like the idea. Spraying a primer before the actual color is a brilliant idea.
I tried the tutorial and it’s so simple. I used a brush to work with the paint, It still came out pretty nice!
Very easy to make