

The idea of planning a wedding can be very intense. However, with some foresight and careful research, you can make the process much easier. Preparing for the wedding day has never been easy. It just takes a bit of organization to keep everything on track when you’re faced with endless decisions, lists, deadlines and, you know, your own life to deal with. The trick is taking things one step at a time and recruiting friends and family (including that future spouse of yours!) to help. And give yourself plenty of time to plan. In case you have much time to spare and trying to come up with a Wedding Invitation DIY project, we got the right one for you here.
COST: $100-$150 (depending on the amount of invitations)
DIFFICULTY: ✂
MATERIALS:
- 140 Pound watercolor paper.
- 5×7 brown craft paper envelopes
- Watercolor paint
- Water
- Waxed thread
- Dried eucalyptus
TOOLS:
- Small wet paintbrush
- Large dry paintbrush
- Photoshop or program of your choice
- Square edge ruler
- Scissors
- White gel pen
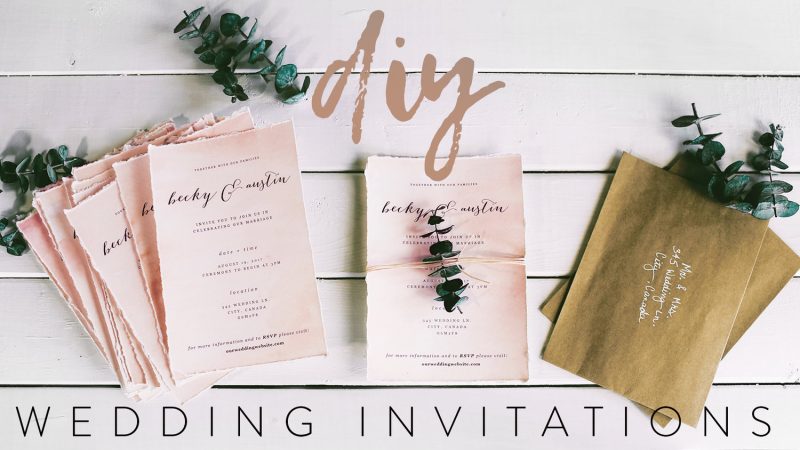
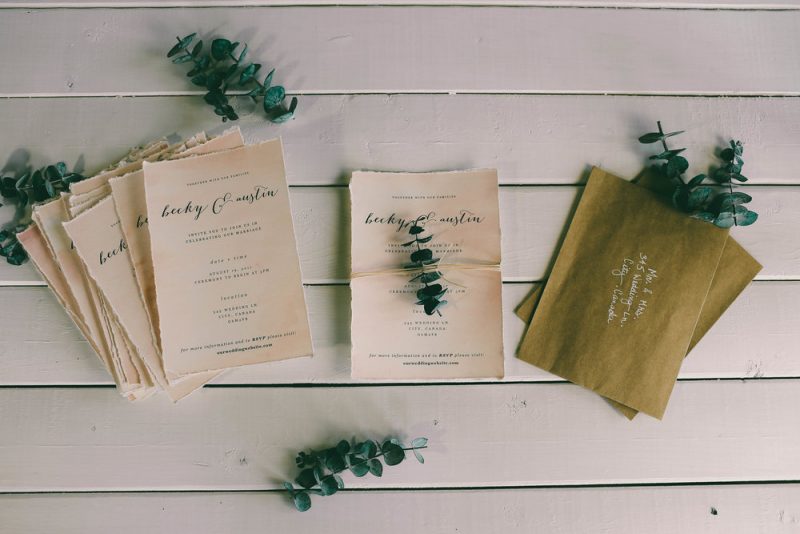
This amount of supplies will be enough for making about eighty invitations for the wedding. You can fit two invitation in one page, meaning you only need forty pages of watercolor paper. For the envelopes, Let’s get 5×7 craft paper envelopes.
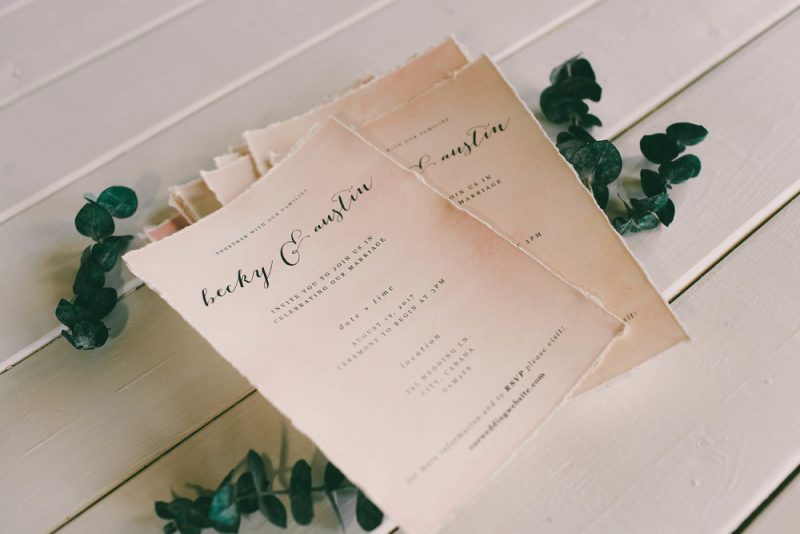
To dye the pages, use watercolor paint of your favorite color. Start painting by putting a little bit of paint around the edges of the page. Then paint down the center of the page because you will be tearing it in half to create two invitations. After that, grab a large dry brush and used it to blend the color on the edges together to give the whole page a wash of color. Finally, set them out to dry.
To print, you can call independent printing houses in your area to find one that will allow you to use your own paper. You could print using your own printer at home, but the quality at printing houses can be a little better (plus it’s much faster at a printing house)!
To create a soft edge, rip the pages using a straight edge ruler. Make sure you are ripping the pages to the correct size of your envelopes. Hold the ruler tightly to the paper and rip slowly!

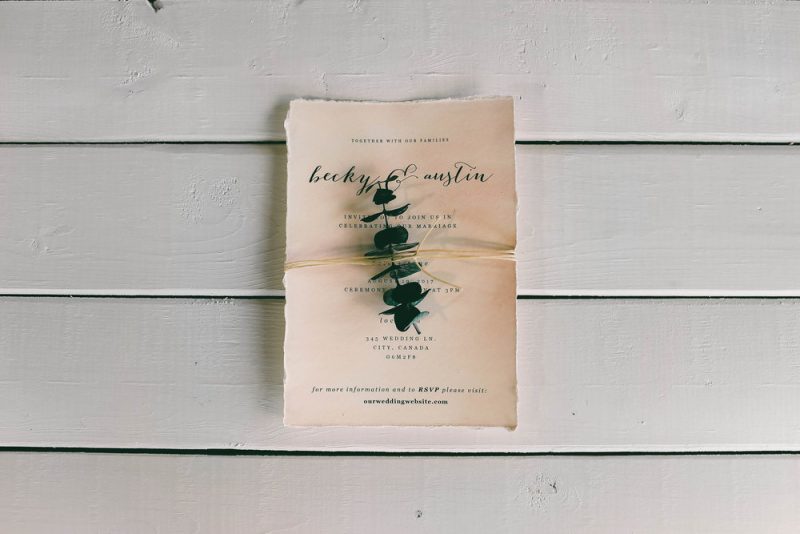
To add detail to the invitations, you can wrap the waxed thread around a couple of times and tying it into a knot. You can also use small bits of dried eucalyptus to add some more decoration. Place the eucalyptus underneath the waxed thread.
Finally, Write the recipient’s address and names on the front of the envelope using a white gel pen and placed the invitation inside!
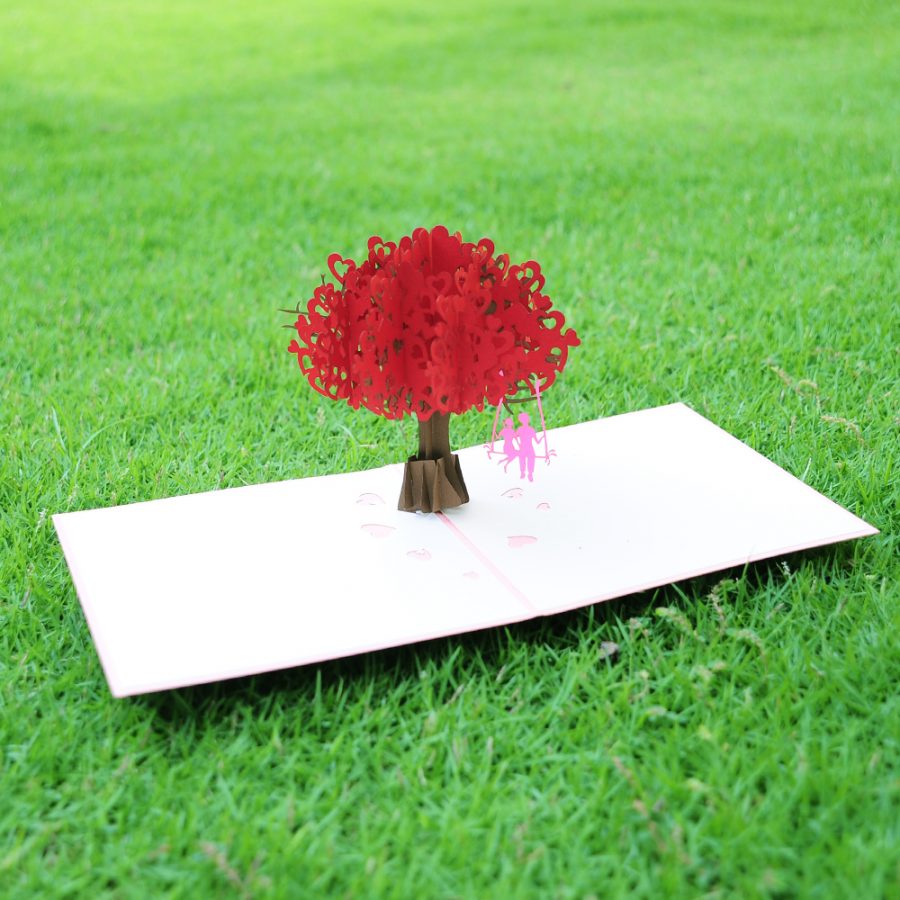
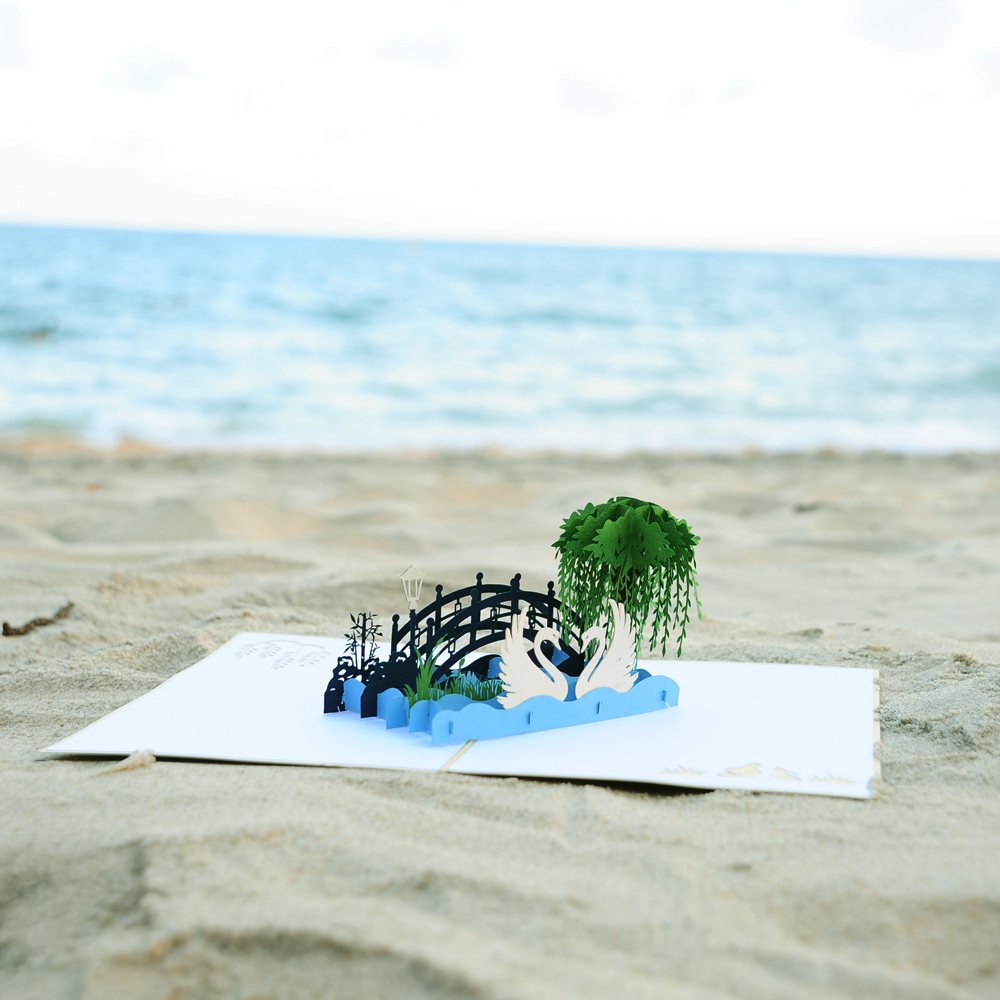
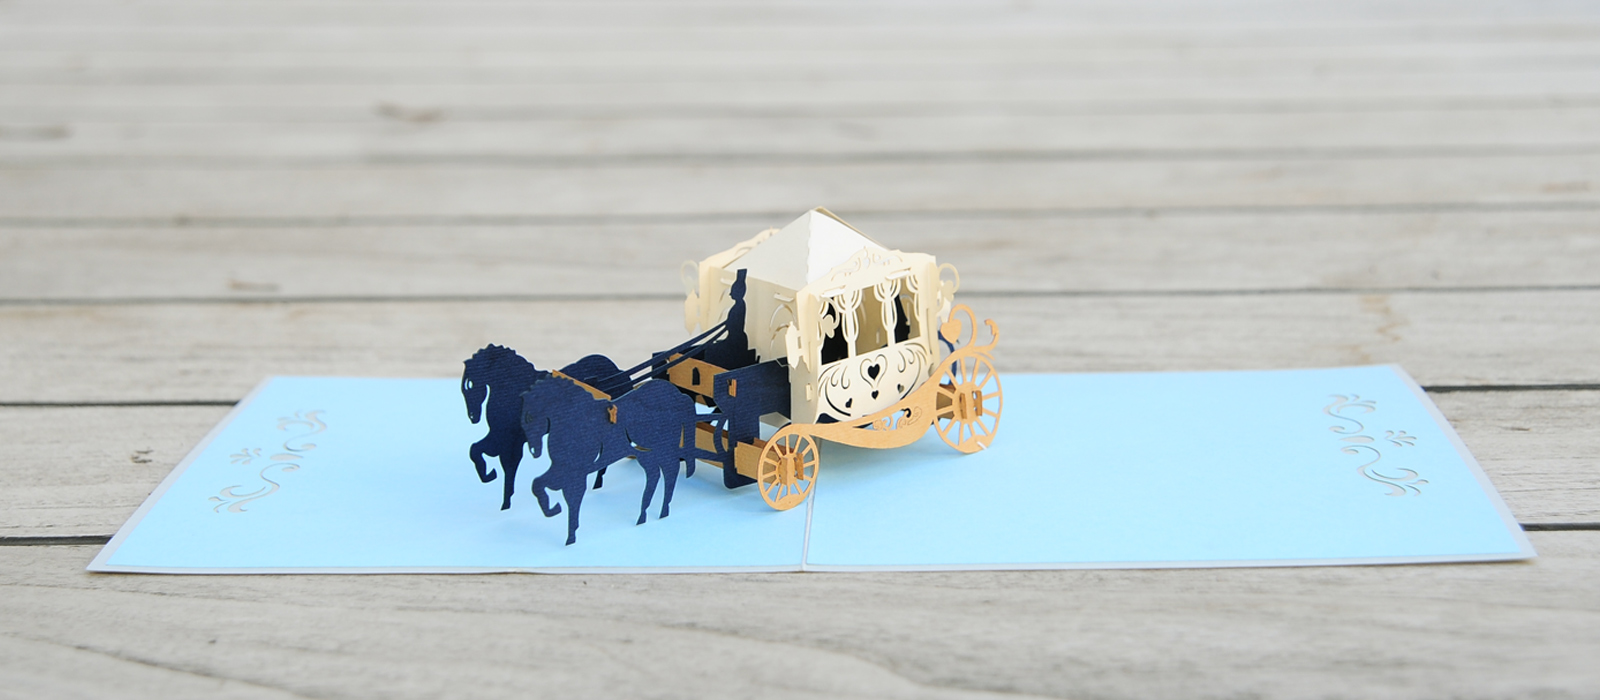
Or if you are running out of time, CharmPop Cards is here to help. Make planning and celebrating your wedding effortless with beautiful pop up wedding card that will make planning for your wedding much more exciting. Looking for an extra-special option for your wedding invites? CharmPop has amazing, custom pop-up wedding invitations perfect for your big day: Wedding Church Pop Up Card, Wedding Day Pop Up Card, Coastal Wedding Pop Up Card, Wedding carriage Pop Up Card, Wedding Day Pop Up Card…

A delightful gift, wonderful execution, will absolutely
Be buying these from here on out.
Very nice card, almost miraculous how they make it
Art, craftsmanship and delight. These cards will never get thrown out.
All of your products are exceptional! I am very pleased with my purchases, thank you, I hope my business is doing well.
The quality and creativity of these cards are second to none. Looking for more reasons to buy more.
Great quality. Impressive design. Very beautiful and for both adults and children.
Beautiful products…..excellent service…..will definitely be back to see new items throughout the year.
Delightfully whimsical cards for any occasion. Perfectly packaged and promptly shipped.
Excellent product! The amount of work that goes into these cards is really something to behold! Many thanks to the team that assembled these cards. Truly a work of excellence!