
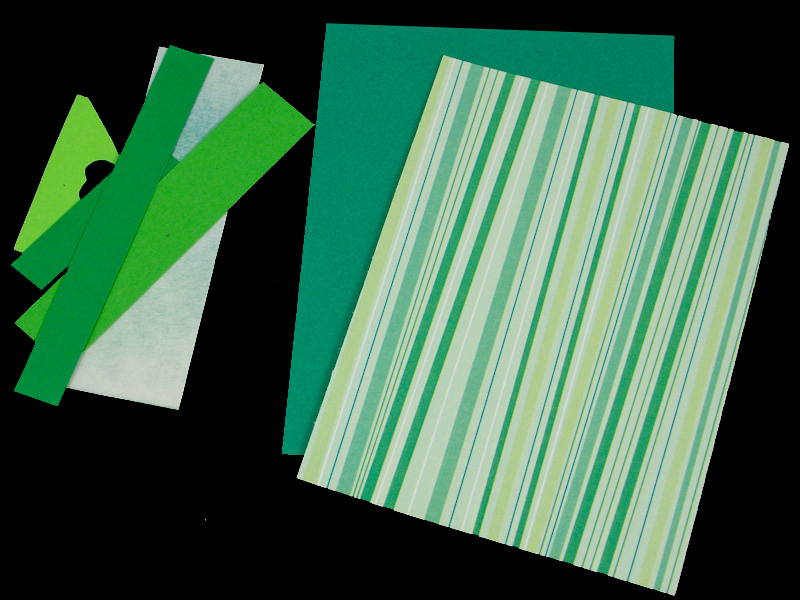
In this tutorial, you’ll learn how to make greeting cards with pockets that can be filled with little pieces of your creative art—artist trading cards (ATCs), bookmarks, little folded cards, tiny books and more. They are also ideal for presents of money or gift cards. These pocket cards are very versatile: make several in a variety of colors to have on hand to decorate for any occasion.
1. Prepairing papers
For the card blank, cut a full sheet of letter-size cardstock in half to make two 8½” by 5½” card blanks. Fold the card blank in half to make a 4¼” by 5½” card.
Cut a 4″ by 5¼” rectangle from each of the two card papers.
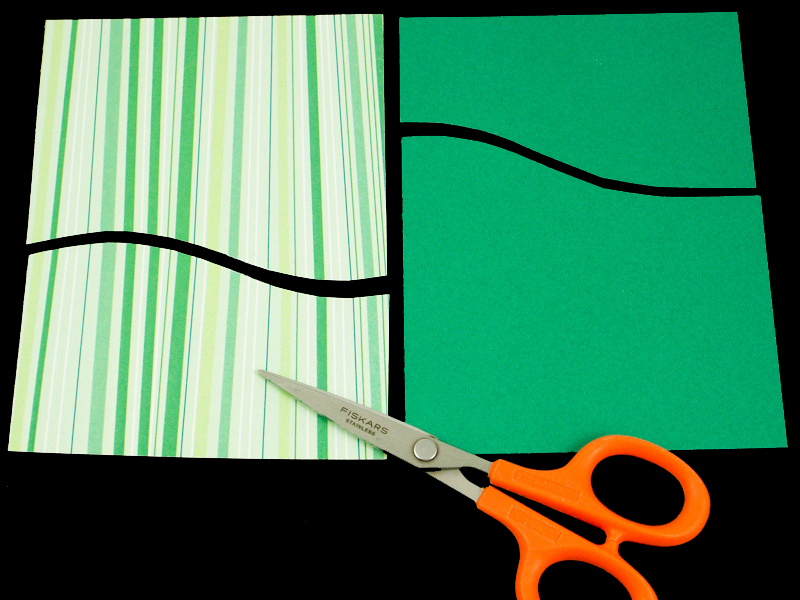
2. Cut Pockets
One of the papers will be cut for the card background and smaller pocket, and the other for the primary pocket and an optional inside pocket. Cut the background paper in two, making a curved cut around 2½” to 2″ from the bottom. Cut the other paper in two, with a curved cut around 3½” to 3″ from the bottom.
3. Glue
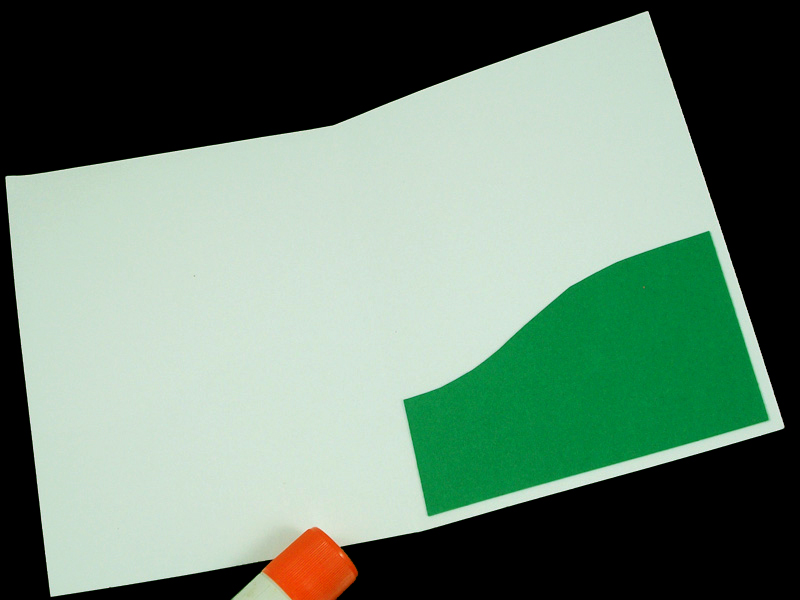
Glue the top part of the background paper to the top of the card with equal margins on the left, right and top.
Glue the top part of the background paper to the top of the card with equal margins on the left, right and top.
Glue the bottom part of the other paper to the bottom of the card, making a pocket by applying a narrow band of glue to the left, right and bottom. Be sure to leave the top open, and align the sides with the background paper.
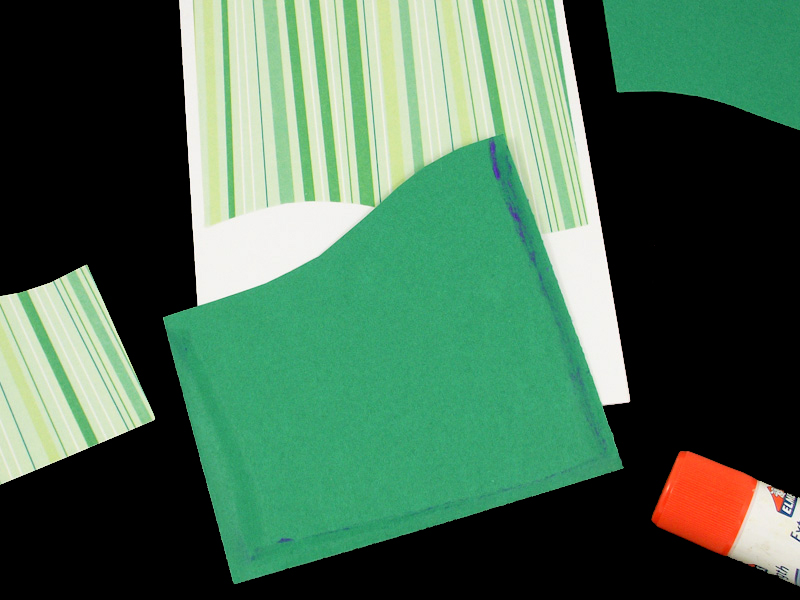

Glue the bottom part of the background paper on top of the first pocket to form a second pocket. Apply narrow bands of glue to the left, right and bottom, and align this pocket with the sides and bottom of the first pocket. Optionally, add a pocket to the inside of the card by gluing the remaining piece of paper to the bottom left or right of the card’s inside.

4. Decorate and Fill Pockets
If you like, decorate the pockets with paper punches, rubber stamps or stickers.
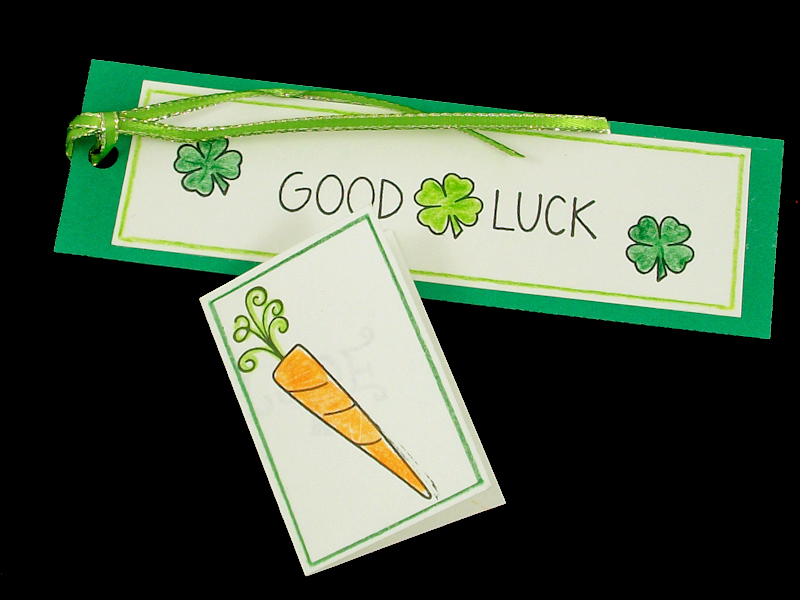
Make items to fill the pockets, like bookmarks and little folded cards. The card’s greeting can be stamped or written on the bookmark, or inside the little card. Use your creativity to make the card special.
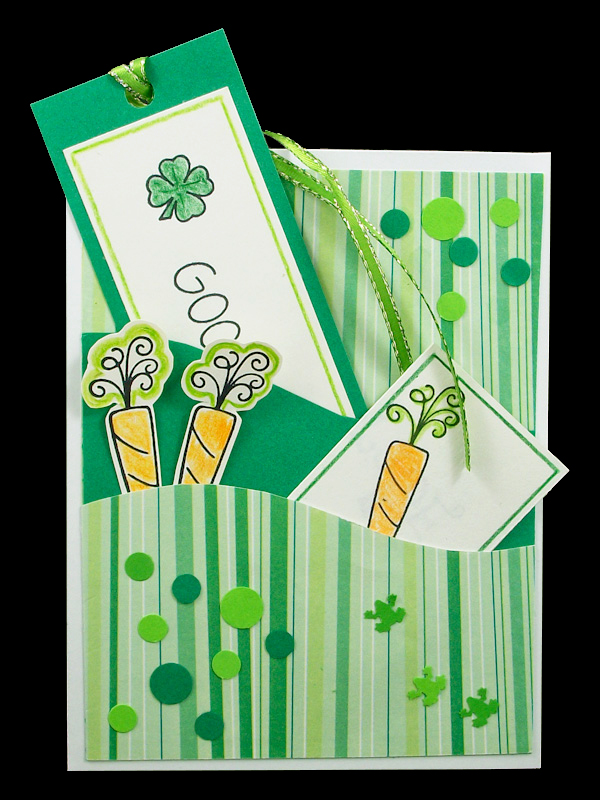
That’s it! Your card is done!

Way cool! Some extremely valid points! I appreciate you writing this post and also the rest of the site is also very good.
gonna try this in the weekend
Adorable tutorial
Love your tutorial. Very artistic and easy to make
Oh i love it so much <3