
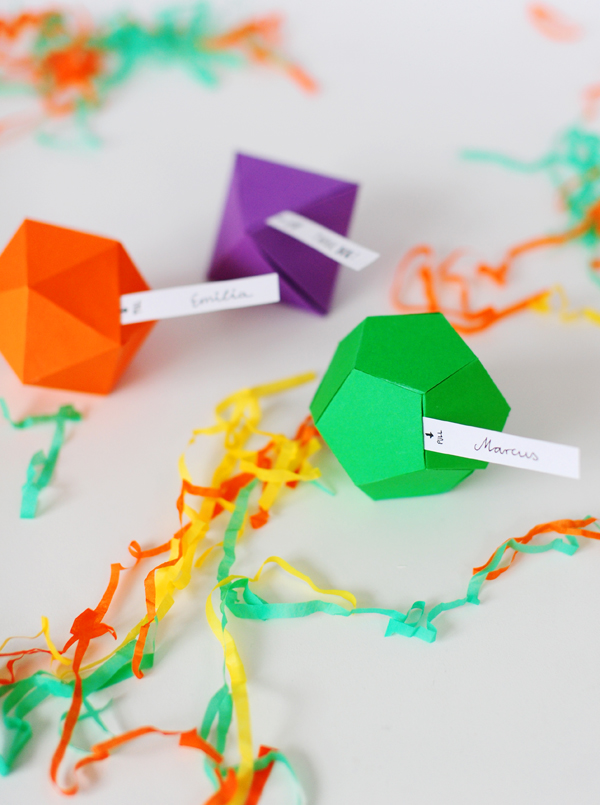
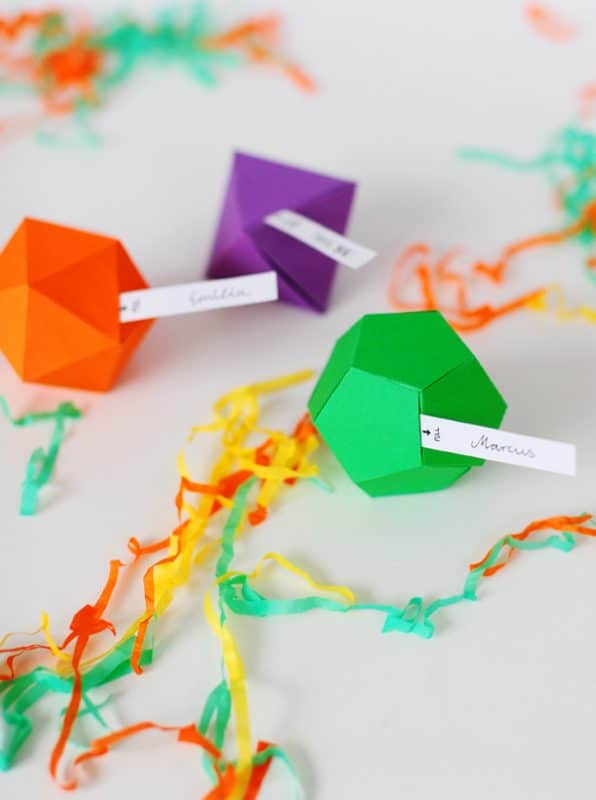
Geometric gift box tutorial is a great instruction for wrapping small gifts. The geometric gift box is perfect for a display table of their own or for use as place cards at each guest’s seat! Without further ado, here’s how to get started:
Instructions:
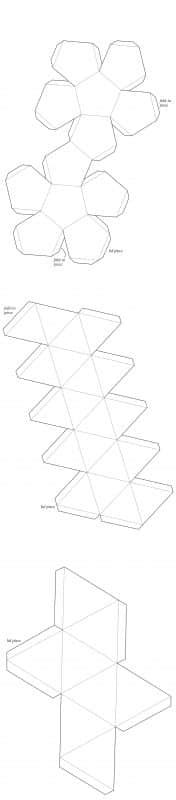
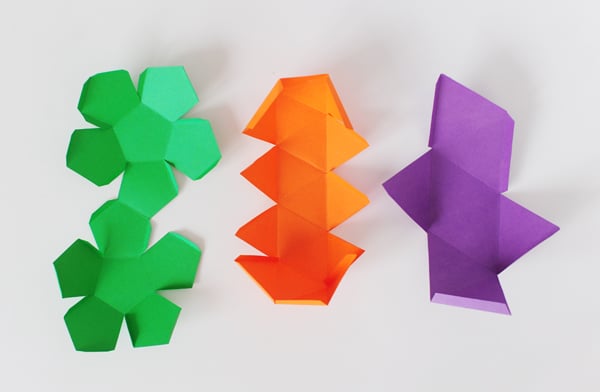
Use thin cardboard stock or thick paper in the colors of your choice. Cut them in the shape as below.
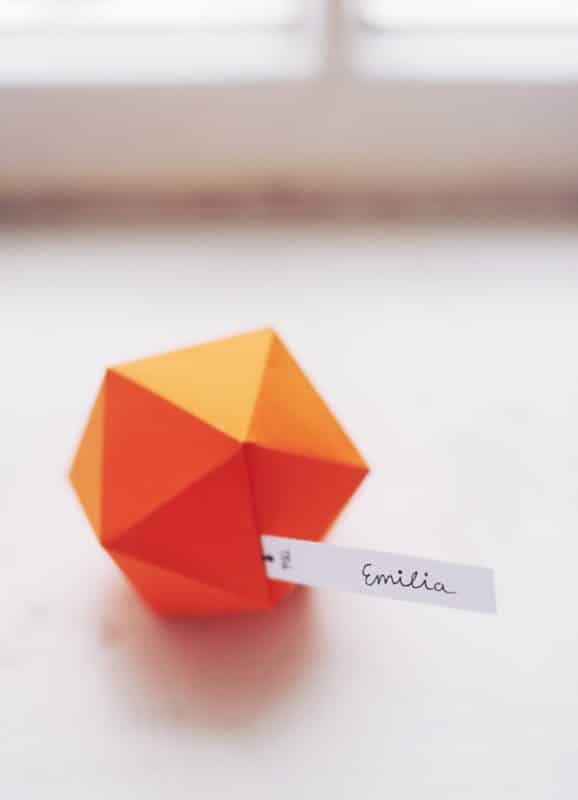
Here, we chose a set of strong colors, but these would also look super-cute in pastels or in gold, silver and/or bronze.
Try to assemble the box without gluing it first, so you can see which sides go where.
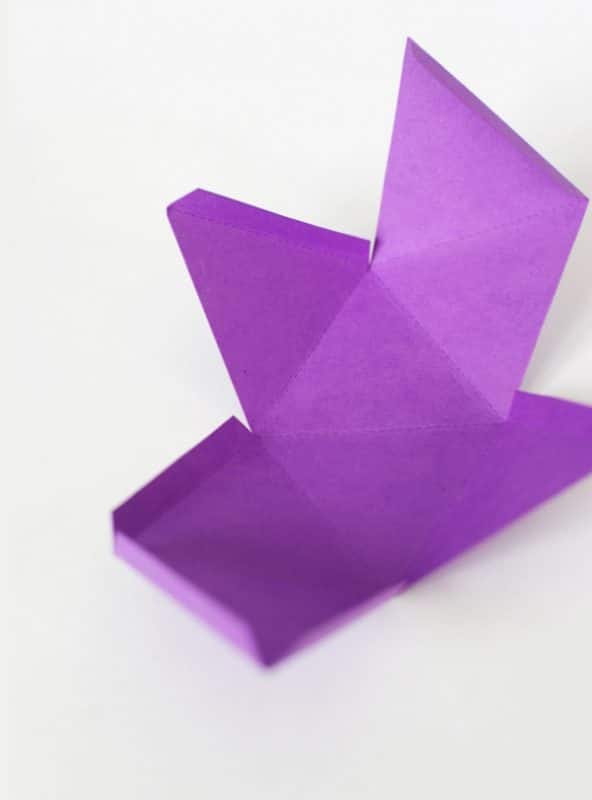
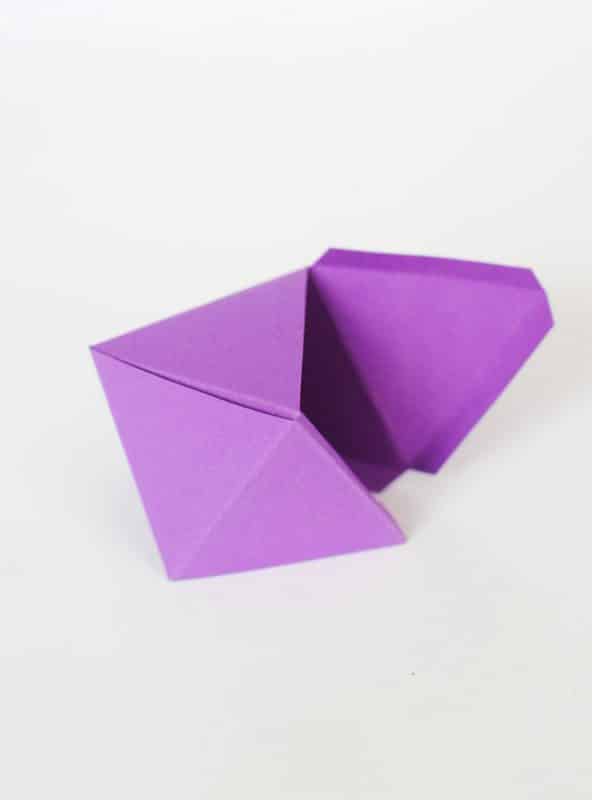
The important sides to mark are the lid and the fold-over side (this is the last side to glue). You could mark those parts with a pencil line or a little piece of masking tape that you can remove in the end.
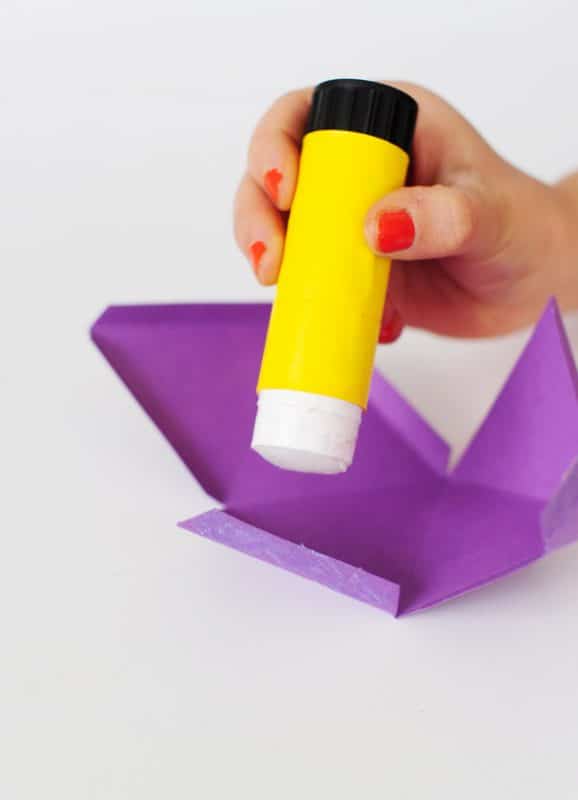
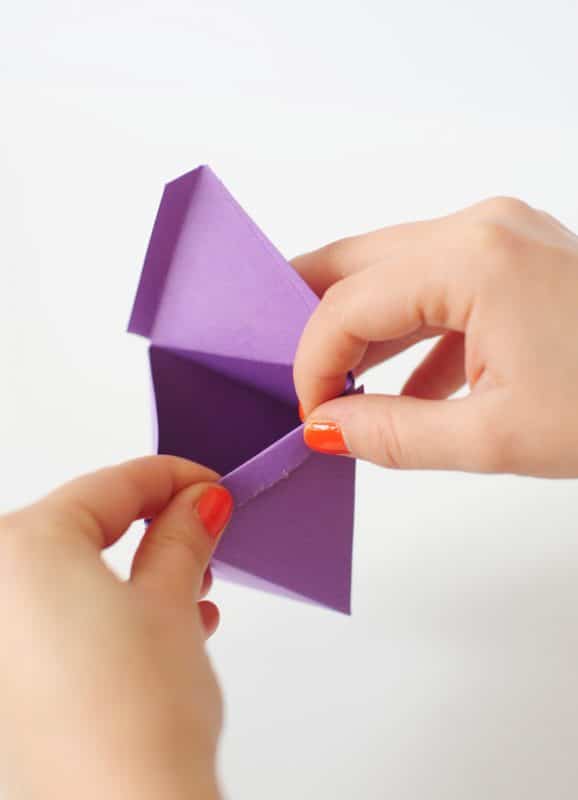
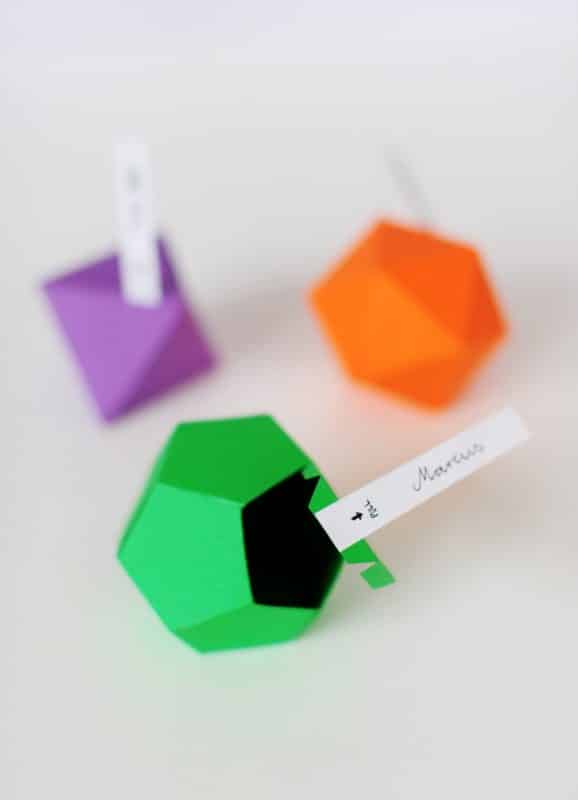
Now you can start to assemble the boxes with paper glue. Fold the last assembly piece (the one before the lid piece) into the box and fix with glue.
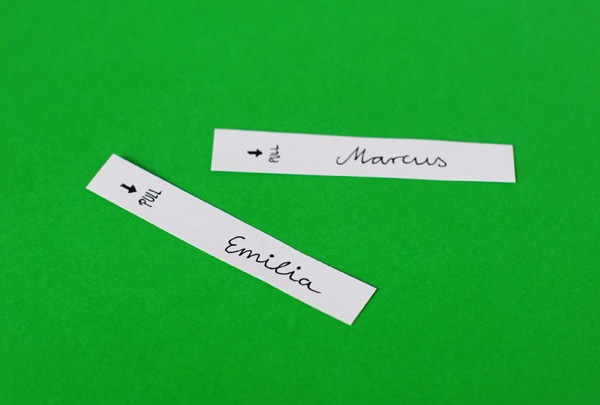
Cut out small strips of paper and add texts. We hand-wrote ours, but of course you can also print out some in a font of your choice. Attach strips to lids with glue as shown in the picture.
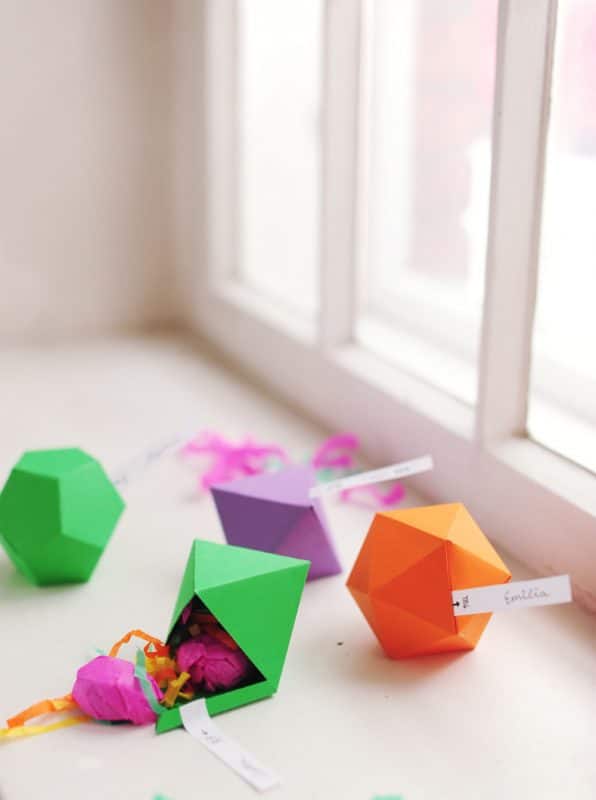
Now your boxes are ready to be filled with goodies. If you use heavy or breakable favors, add some thin strips of tissue paper to pad the boxes.
And you’re done!